Expanding my setup
-
wickedinhere
- 4 Star Member

- Posts: 751
- Joined: Thu Jun 09, 2011 9:03 pm
Re: Expanding my setup
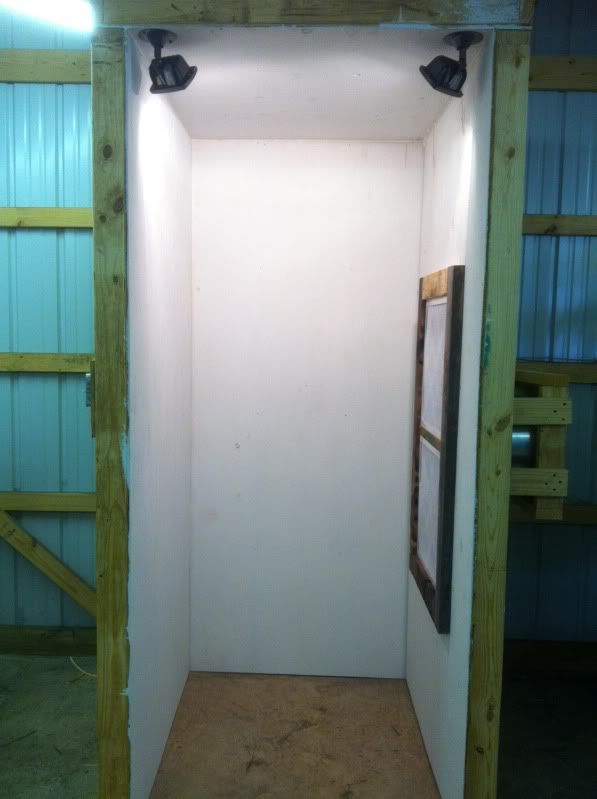
Well almost finished got the lights up just need to run air to the booth and put my hanging rod in and i will be coating. 
-
Dawgonhawg
- 3 Star Member

- Posts: 487
- Joined: Sun Mar 27, 2011 10:13 pm
Re: Expanding my setup
Wicked, what kind of lighs are you using?
Thanks, Dawg
Thanks, Dawg
-
wickedinhere
- 4 Star Member
- Posts: 751
- Joined: Thu Jun 09, 2011 9:03 pm
Re: Expanding my setup
They are 150 watt halogen flood lights, I got the at lowes for 11.00 each i figured i would give them a try.
-
AnotherDano

- 4 Star Member
- Posts: 806
- Joined: Fri Dec 18, 2009 11:52 pm
- Location: Laramie, Wyoming
- Contact:
Re: Expanding my setup
wickedinhere wrote:They are 150 watt halogen flood lights, I got the at lowes for 11.00 each i figured i would give them a try.
That's what I have in my booth, placed just about where you placed yours.
Powder hits the hot glass and melts, then they just get darker and darker.
That's not a show-stopper. It just takes a bit of cleaning and scraping.
Dano Roberts
droberts@ironpequod.com
PlasmaCam DHC-2 v3.11
Hypertherm PowerMax-30
Serving Laramie, Wy since Thursday
droberts@ironpequod.com
PlasmaCam DHC-2 v3.11
Hypertherm PowerMax-30
Serving Laramie, Wy since Thursday
-
wickedinhere
- 4 Star Member
- Posts: 751
- Joined: Thu Jun 09, 2011 9:03 pm
Re: Expanding my setup
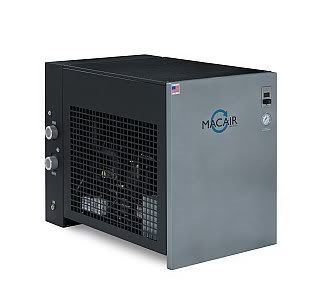
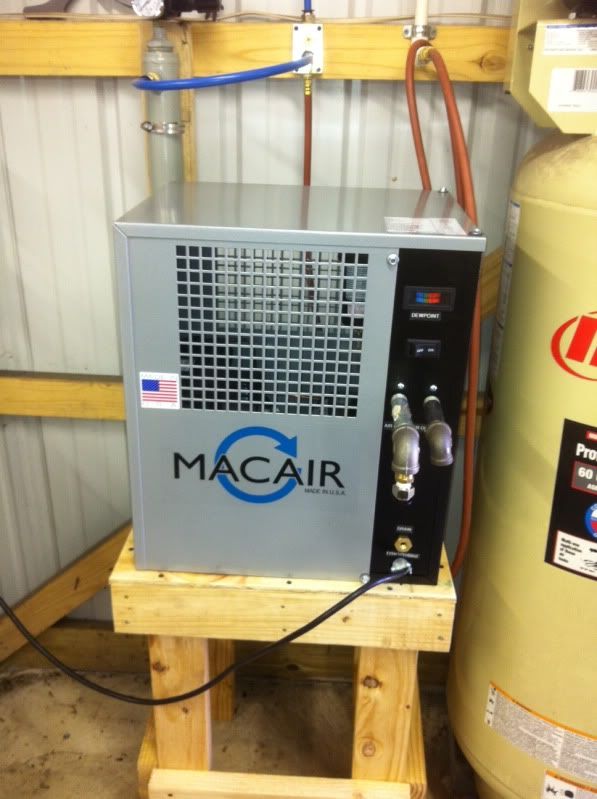
I got the booth finished i just need to finish running my air lines. I have been fighting moisture in my lines so i figured its only gonna worse as the summer gets here(louisiana) so between my plasma and powder coating setup i decided its time for a refer air dryer. I have been able to get away with just a cheap water trap at my compressor and motor guard at my table but its not gonna cut it any longer. I ordered a macair dryer it will be able to handle 20 cfm so if i upgrade my compressor i will still be good to go.
-
Charlene
- 3 Star Member
- Posts: 470
- Joined: Thu Mar 03, 2011 12:06 am
- Location: Maine
Re: Expanding my setup
Very nice! We went with the dryer from Harbor Freight. Hopefully, it will get us through for a good while.
-
wickedinhere
- 4 Star Member
- Posts: 751
- Joined: Thu Jun 09, 2011 9:03 pm
Re: Expanding my setup
YEah i was gonna get the one from harbor freight but they raised the price so i just went and paid a little more for this one.
-
wickedinhere
- 4 Star Member
- Posts: 751
- Joined: Thu Jun 09, 2011 9:03 pm
Re: Expanding my setup
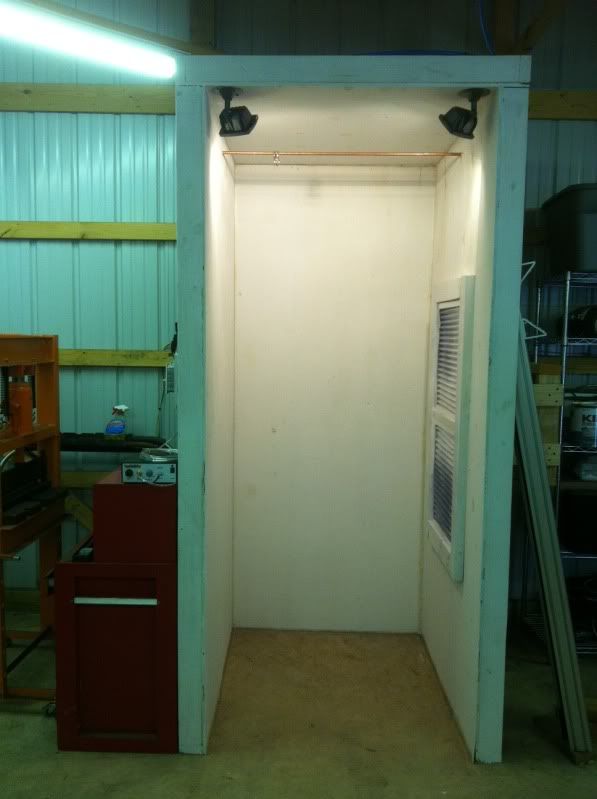
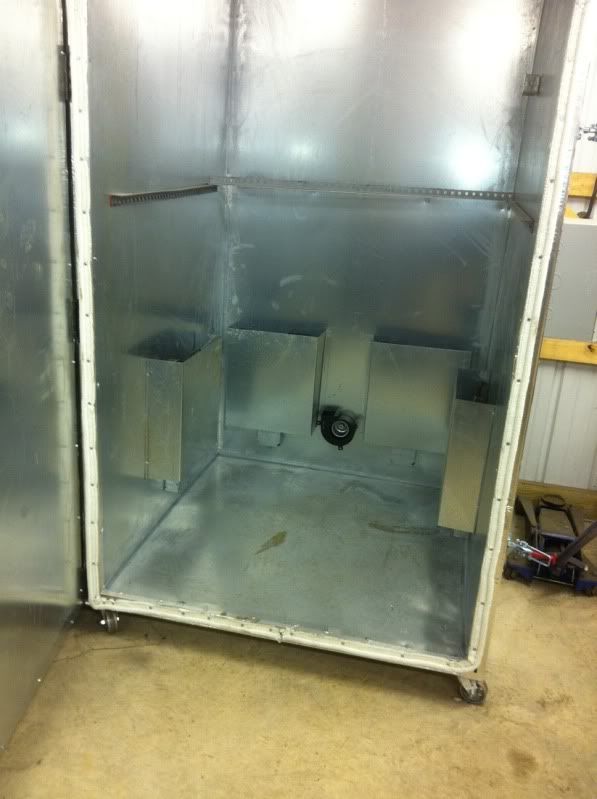
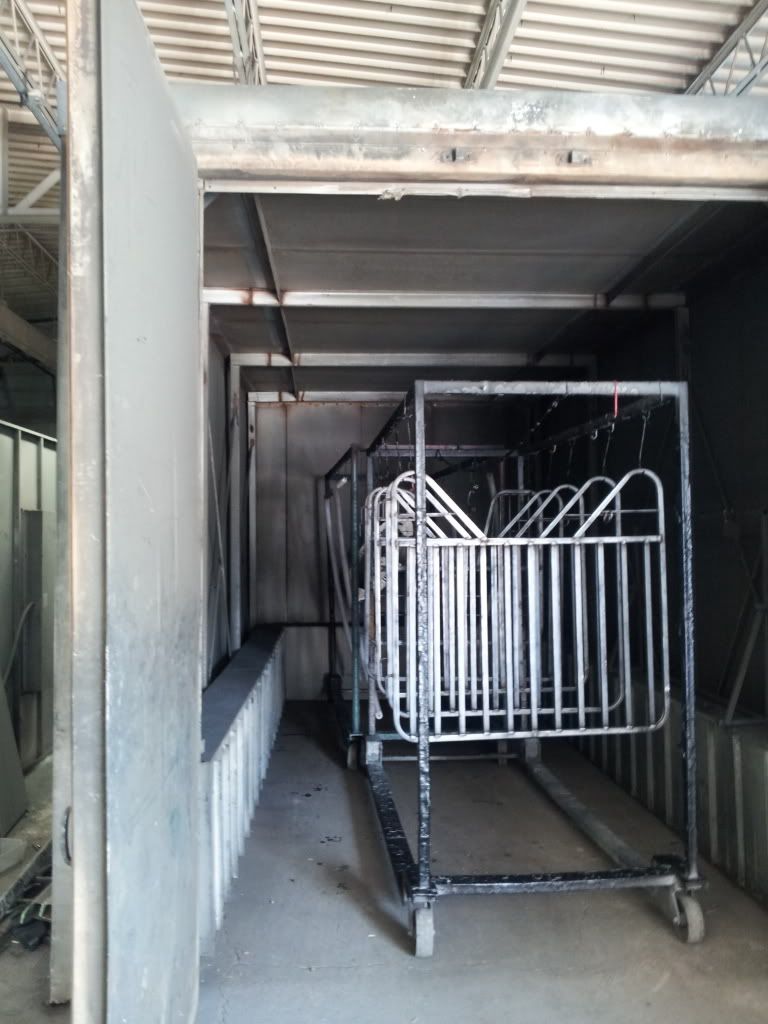
Finally got the air supply to the booth and the rod installed and touched up the paint. I will be coating next week.
-
Garysbiz
- 2.5 Star Member

- Posts: 151
- Joined: Mon Dec 26, 2011 8:35 pm
Re: Expanding my setup
Just wondering about what it cost to build and outfit both of your booths, really nice job! Thanks
-
wickedinhere
- 4 Star Member
- Posts: 751
- Joined: Thu Jun 09, 2011 9:03 pm
Re: Expanding my setup
I have around 1800-1900 in the oven and about 300-400 in the spray booth.
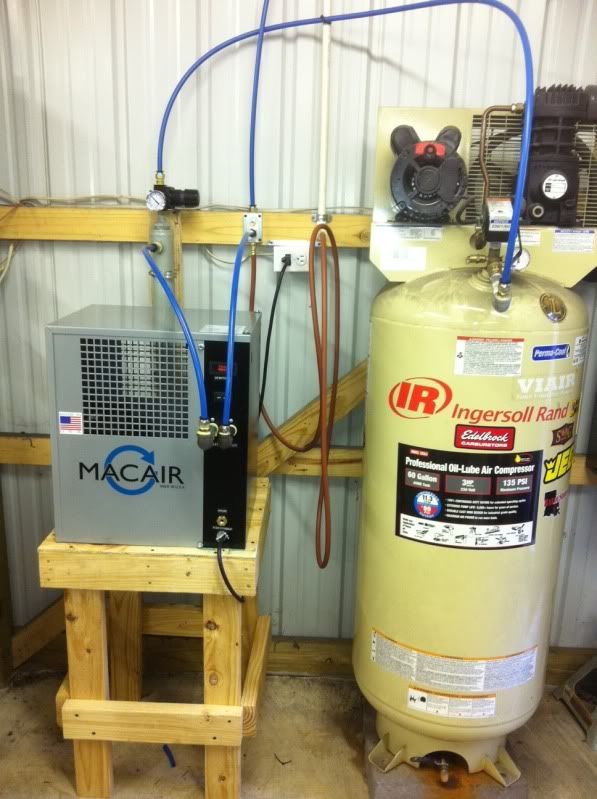
My air dryer showed up today its gonna make life so much better.
My air dryer showed up today its gonna make life so much better.
-
wickedinhere
- 4 Star Member
- Posts: 751
- Joined: Thu Jun 09, 2011 9:03 pm
Re: Expanding my setup
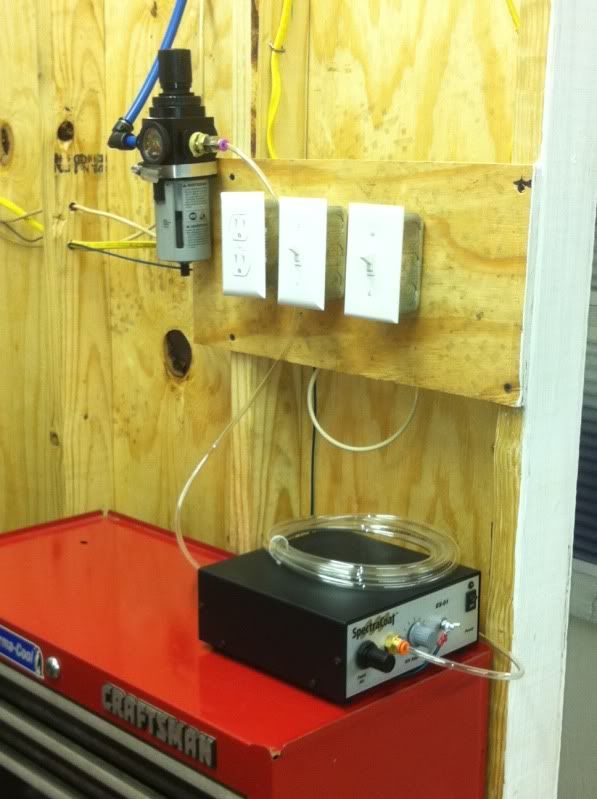
Well i got my element covers made and installed on my oven and i got the air dryer plumbed in. I went with the rapid air system for the whole shop, its real easy to install and works great.
-
wickedinhere
- 4 Star Member
- Posts: 751
- Joined: Thu Jun 09, 2011 9:03 pm
Re: Expanding my setup
I had some questions if i had grounded my equipment. I used a 8 foot grounding rod and ran separate ground wires for the equipment as per the instructions for my powder coating machine. I also ran all the grounds for the switches,plugs,lights and exhaust fan back to the ground rod so 100% of my setup is grounded to a 8 foot rod separate from my shop electrical ground.
-
AnotherDano
- 4 Star Member
- Posts: 806
- Joined: Fri Dec 18, 2009 11:52 pm
- Location: Laramie, Wyoming
- Contact:
Re: Expanding my setup
From all I've read, it helps to seperate the two types of current that want to go to the earth; 60 cycle ac and static used in the PC process. I like to keep them seperate but in your case, putting them on the same ground rod takes care of that.wickedinhere wrote:I had some questions if i had grounded my equipment. I used a 8 foot grounding rod and ran separate ground wires for the equipment as per the instructions for my powder coating machine. I also ran all the grounds for the switches,plugs,lights and exhaust fan back to the ground rod so 100% of my setup is grounded to a 8 foot rod separate from my shop electrical ground.
In the PC process there have been may arguements presented, so this is just my $.02 worth.
Keep the household (shop) power grounded to the house/shop panel and run the charge from the piece being coated straight to it's own ground.
I also have the cutter grounded to the 'house' and the work grounded to the earth.
Dano Roberts
droberts@ironpequod.com
PlasmaCam DHC-2 v3.11
Hypertherm PowerMax-30
Serving Laramie, Wy since Thursday
droberts@ironpequod.com
PlasmaCam DHC-2 v3.11
Hypertherm PowerMax-30
Serving Laramie, Wy since Thursday
-
wickedinhere
- 4 Star Member
- Posts: 751
- Joined: Thu Jun 09, 2011 9:03 pm
Re: Expanding my setup
Hopefully i will get to test all this stuff out this week. I just got an order for several pieces so that will have to be done first then i will play powdercoater. LOL
-
wickedinhere
- 4 Star Member
- Posts: 751
- Joined: Thu Jun 09, 2011 9:03 pm
Re: Expanding my setup
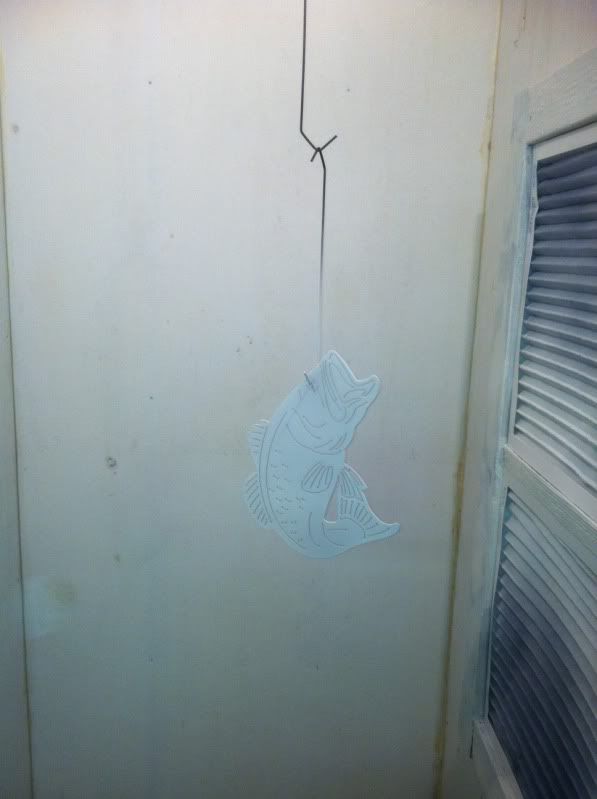
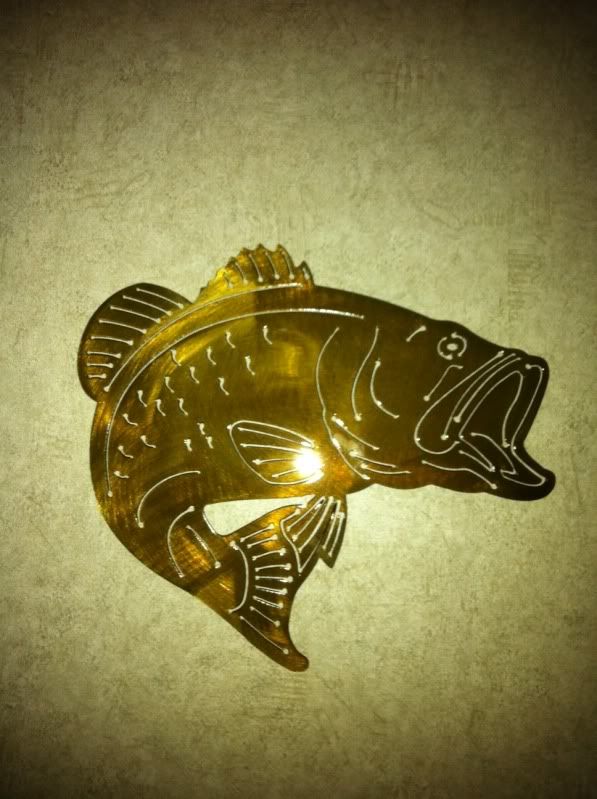
Well i fired up the booth and oven up this morning and coated my first piece i put on a bronze stain hit it with a scotch brite pad to make it more green and the coated it with 80% clear. It came out really good for my first piece I even got good coverage in the cuts, the money i spent is really gonna pay off. NO FIRE OR EXPLOSION so i guess i did it right.
-
jmsrbrt

- 3 Star Member
- Posts: 385
- Joined: Mon Dec 08, 2008 5:24 pm
- Location: San Marcos, TX
- Contact:
Re: Expanding my setup
Very nice. It looks though like you need to decrease your dwell time. Food for thought.
Torchmate 2 with ATHC & Water table
Corel 12, Turbo Cad
TD Cutmaster 51
San Marcos, Texas
Corel 12, Turbo Cad
TD Cutmaster 51
San Marcos, Texas
-
Dawgonhawg
- 3 Star Member
- Posts: 487
- Joined: Sun Mar 27, 2011 10:13 pm
Re: Expanding my setup
Wicker, I've been watching your build and I'm about ready to build my booth. Just have a few questions. What mill of filter are you using? Is any powder getting through the filters? And how is the fan doing? Will you close in around the fan if powder is passing through the filters.
Thanks, Dawg
Thanks, Dawg
-
wickedinhere
- 4 Star Member
- Posts: 751
- Joined: Thu Jun 09, 2011 9:03 pm
Re: Expanding my setup
I am just using cheap furnace filters 20x20x1 from walmart. They work pretty good but i picked up some pre-filters today, I am getting a small amount of powder passed the filters. I have the fan setup so it will be easy to install a filter on the outside. I will post some pics of the improved filter setup. The fan is working great it pulls the powder fine.
-
Loyd

- 3.5 Star Elite Contributing Member

- Posts: 686
- Joined: Tue Nov 03, 2009 12:28 am
- Location: Bald Knob, AR
- Contact:
Re: Expanding my setup
Very nice Wicked....I'm jealous!
Loyd
Loyd
De inimico non loquaris sed cogites
Do not wish ill upon your enemies, plan it.
Do not wish ill upon your enemies, plan it.
-
wickedinhere
- 4 Star Member
- Posts: 751
- Joined: Thu Jun 09, 2011 9:03 pm
Re: Expanding my setup
Thanks, i have coated 5 parts so far with the clear coat and they look great. This has been a great investment.
-
rwehavinfunyet

- 2.5 Star Member
- Posts: 118
- Joined: Sat May 21, 2011 1:03 am
- Location: Port Clinton, OH
- Contact:
Re: Expanding my setup
you can pay to run my oven if you want lol. 21 feet deep
-
alleykat
- 1.5 Star Member

- Posts: 35
- Joined: Tue Dec 20, 2011 3:55 am
- Location: Houston,TX
Re: Expanding my setup
When the fan pulls the powder pass the filters,do you have it just shooting out to the open? I know not all will get stuck on the filters especially if you do a lot of coating.I need to build me a new setup.
-
wickedinhere
- 4 Star Member
- Posts: 751
- Joined: Thu Jun 09, 2011 9:03 pm
Re: Expanding my setup
When the filters stop up some powder does get passed the filters but not much. Yes the fan exhausts in my shop i put a filter after the fan and i am gonna put some pre filters.
-
frodin1
- 1/2 Star Member

- Posts: 3
- Joined: Tue May 01, 2012 10:50 am
Re: Expanding my setup
Hey Wicked, I've been lurking in here for a while and I finally gotta ask, Did you go by some sort of plans to build your oven? Just curious what you used for the structure? Ive been contemplating this for a long time, and I would like to buld it similar to yours. However, Im just not sure what I should use to build the frame out of, what insulation, etc. Also, I like the T= Stat setup you used, where did you find that? Some sort of sticky "with lots of pics" of an oven build would be cool. Love the new section. Hopefullly I can get some questions answered. Thanks
-
wickedinhere
- 4 Star Member
- Posts: 751
- Joined: Thu Jun 09, 2011 9:03 pm
Re: Expanding my setup
I used 2x2 square tubing for the frame most people used steel wall studs but i went a different route kinda doing it like i like it.LOL Google teds fab thats where i got my contol box and elements he sells ovens and all the stuff you need to build your own. I didnt have any plans i just built it 4x4x8 outside dimensions for insulation i used 2 inch mineral wool.